In this example we use the analogWrite() function to fade an LED on and off. analogWrite() uses pulse with modulation (PWM) to create an analog-like behaviour from a digital output. This behaviour is achieved by switching the output on and off very fast and with different ratio between on and off times. [1] [2]
1.0 Background Knowledge
1.1 Pulse With Modulation (PWM)
PWM is a technique that is used to generate analog signals with digital means. In this method a digital controller is used to create a square wave, a signal that switches between “on” and “off”. The generated on-off pattern simulates voltages between the two logic level, 5 Volts and 0 Volts. The pattern is generated by changing the portion of the time the signal is “on” versus the time that the signal is “off”. [3]
1.2 analogWrite()
Writes an analog value (PWM wave) to a pin. Can be used to light a LED at varying brightnesses or drive a motor at various speeds. After a call to analogWrite(), the pin will generate a steady square wave of the specified duty cycle until the next call to analogWrite() (or a call to digitalRead() or digitalWrite()) on the same pin. [4]
2.0 Hardware Required
- Arduino Board
- LED
- 220Ω Resistor
- Wires
- Breadboard
3.0 Circuit
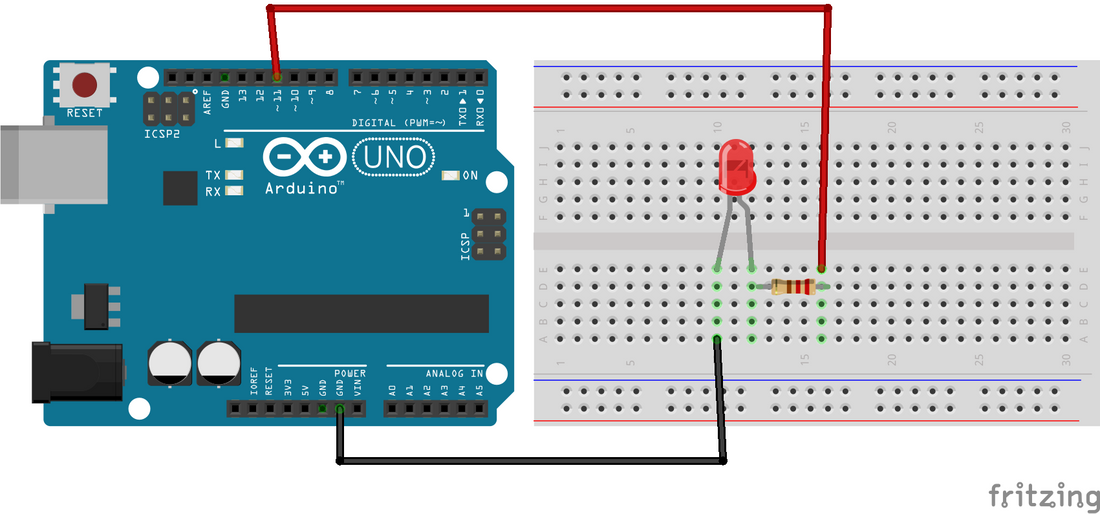
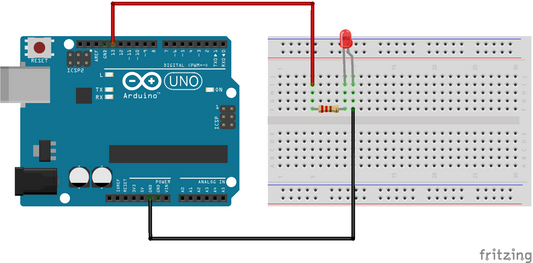
Connect the anode (the longer, positive leg) of your LED through a 220 Ω resistor to digital output pin 11 on your board. Next, connect the cathode (the shorter, negative leg) of the LED directly to ground.

4.0 Schematic

5.0 Code
Declare pin 11 to be your ledPin.
the analogWrite() function requires two arguments: The first argument tells the function which pin it is writing to and the second argument indicates the PWM value.
In order to fade your LED on and off, you will need to gradually increase the PWM value from 0 (all the way off) to 255 (all the way on), and then back to 0 to complete the cycle.
analogWrite() can change the PWM value very fast. Thus, the delay at the end of the sketch controls the speed of fade. Try changing the amount of the delay and see how it changes the fading effect. [2]
6.0 References
[1]"Arduino - Fading", Arduino.cc, 2019. [Online]. Available: https://www.arduino.cc/en/Tutorial/Fading. [Accessed: 28- Jun- 2019].
[2]"Arduino - Fade", Arduino.cc, 2019. [Online]. Available: https://www.arduino.cc/en/Tutorial/Fade. [Accessed: 02- Jul- 2019].
[3]"Arduino - PWM", Arduino.cc, 2019. [Online]. Available: https://www.arduino.cc/en/Tutorial/PWM. [Accessed: 02- Jul- 2019].
[4]"Arduino Reference", Arduino.cc, 2019. [Online]. Available: https://www.arduino.cc/reference/en/language/functions/analog-io/analogwrite/. [Accessed: 02- Jul- 2019].


